A long weekend = a good excuse for another adventure!
The Whanganui River Journey is one of New Zealand’s “Great Walks” – which are nine adventures in the most spectacular New Zealand landscapes. Although not technically a walk – the three day river trip in a canoe still comes under the great walk category through the Whanganui National Park.
Our journey started mid afternoon with a plane ride from Christchurch to Palmerston North, where we picked up a Thrifty Rental van and drove the two hours from there to Ohakune.


We arrived at about 8pm, and still had to check in to our motel, pick up the barrels and feed the starving children! We dined at the fantastic Bearing Point Restaurant, and then headed back to the Alpine Motel & Backpackers in Ohakune where we had rented out the townhouse which accommodated our group of 11 people perfectly.
Yeti Tours whom we were renting the canoes for the trip from had given us the barrels to get packed. I underestimated how complicated that this would be and we were up until almost midnight trying to fit everything in! The barrels are supposed to be waterproof, but we had also brought along dry bags to line the barrels with – should we happen to tip out along the way… You can have up to six barrels in a canoe – which is plenty for two people, however remember that you have to lug your barrels up and down to the huts/campsites every night – which can be a bit of a hassle – so try to pack light…

We were back at Yeti Tours base at 7am the next morning where we loaded the boats and barrels on to a trailer and we hopped on the bus for the two hour drive to Whakahoro.
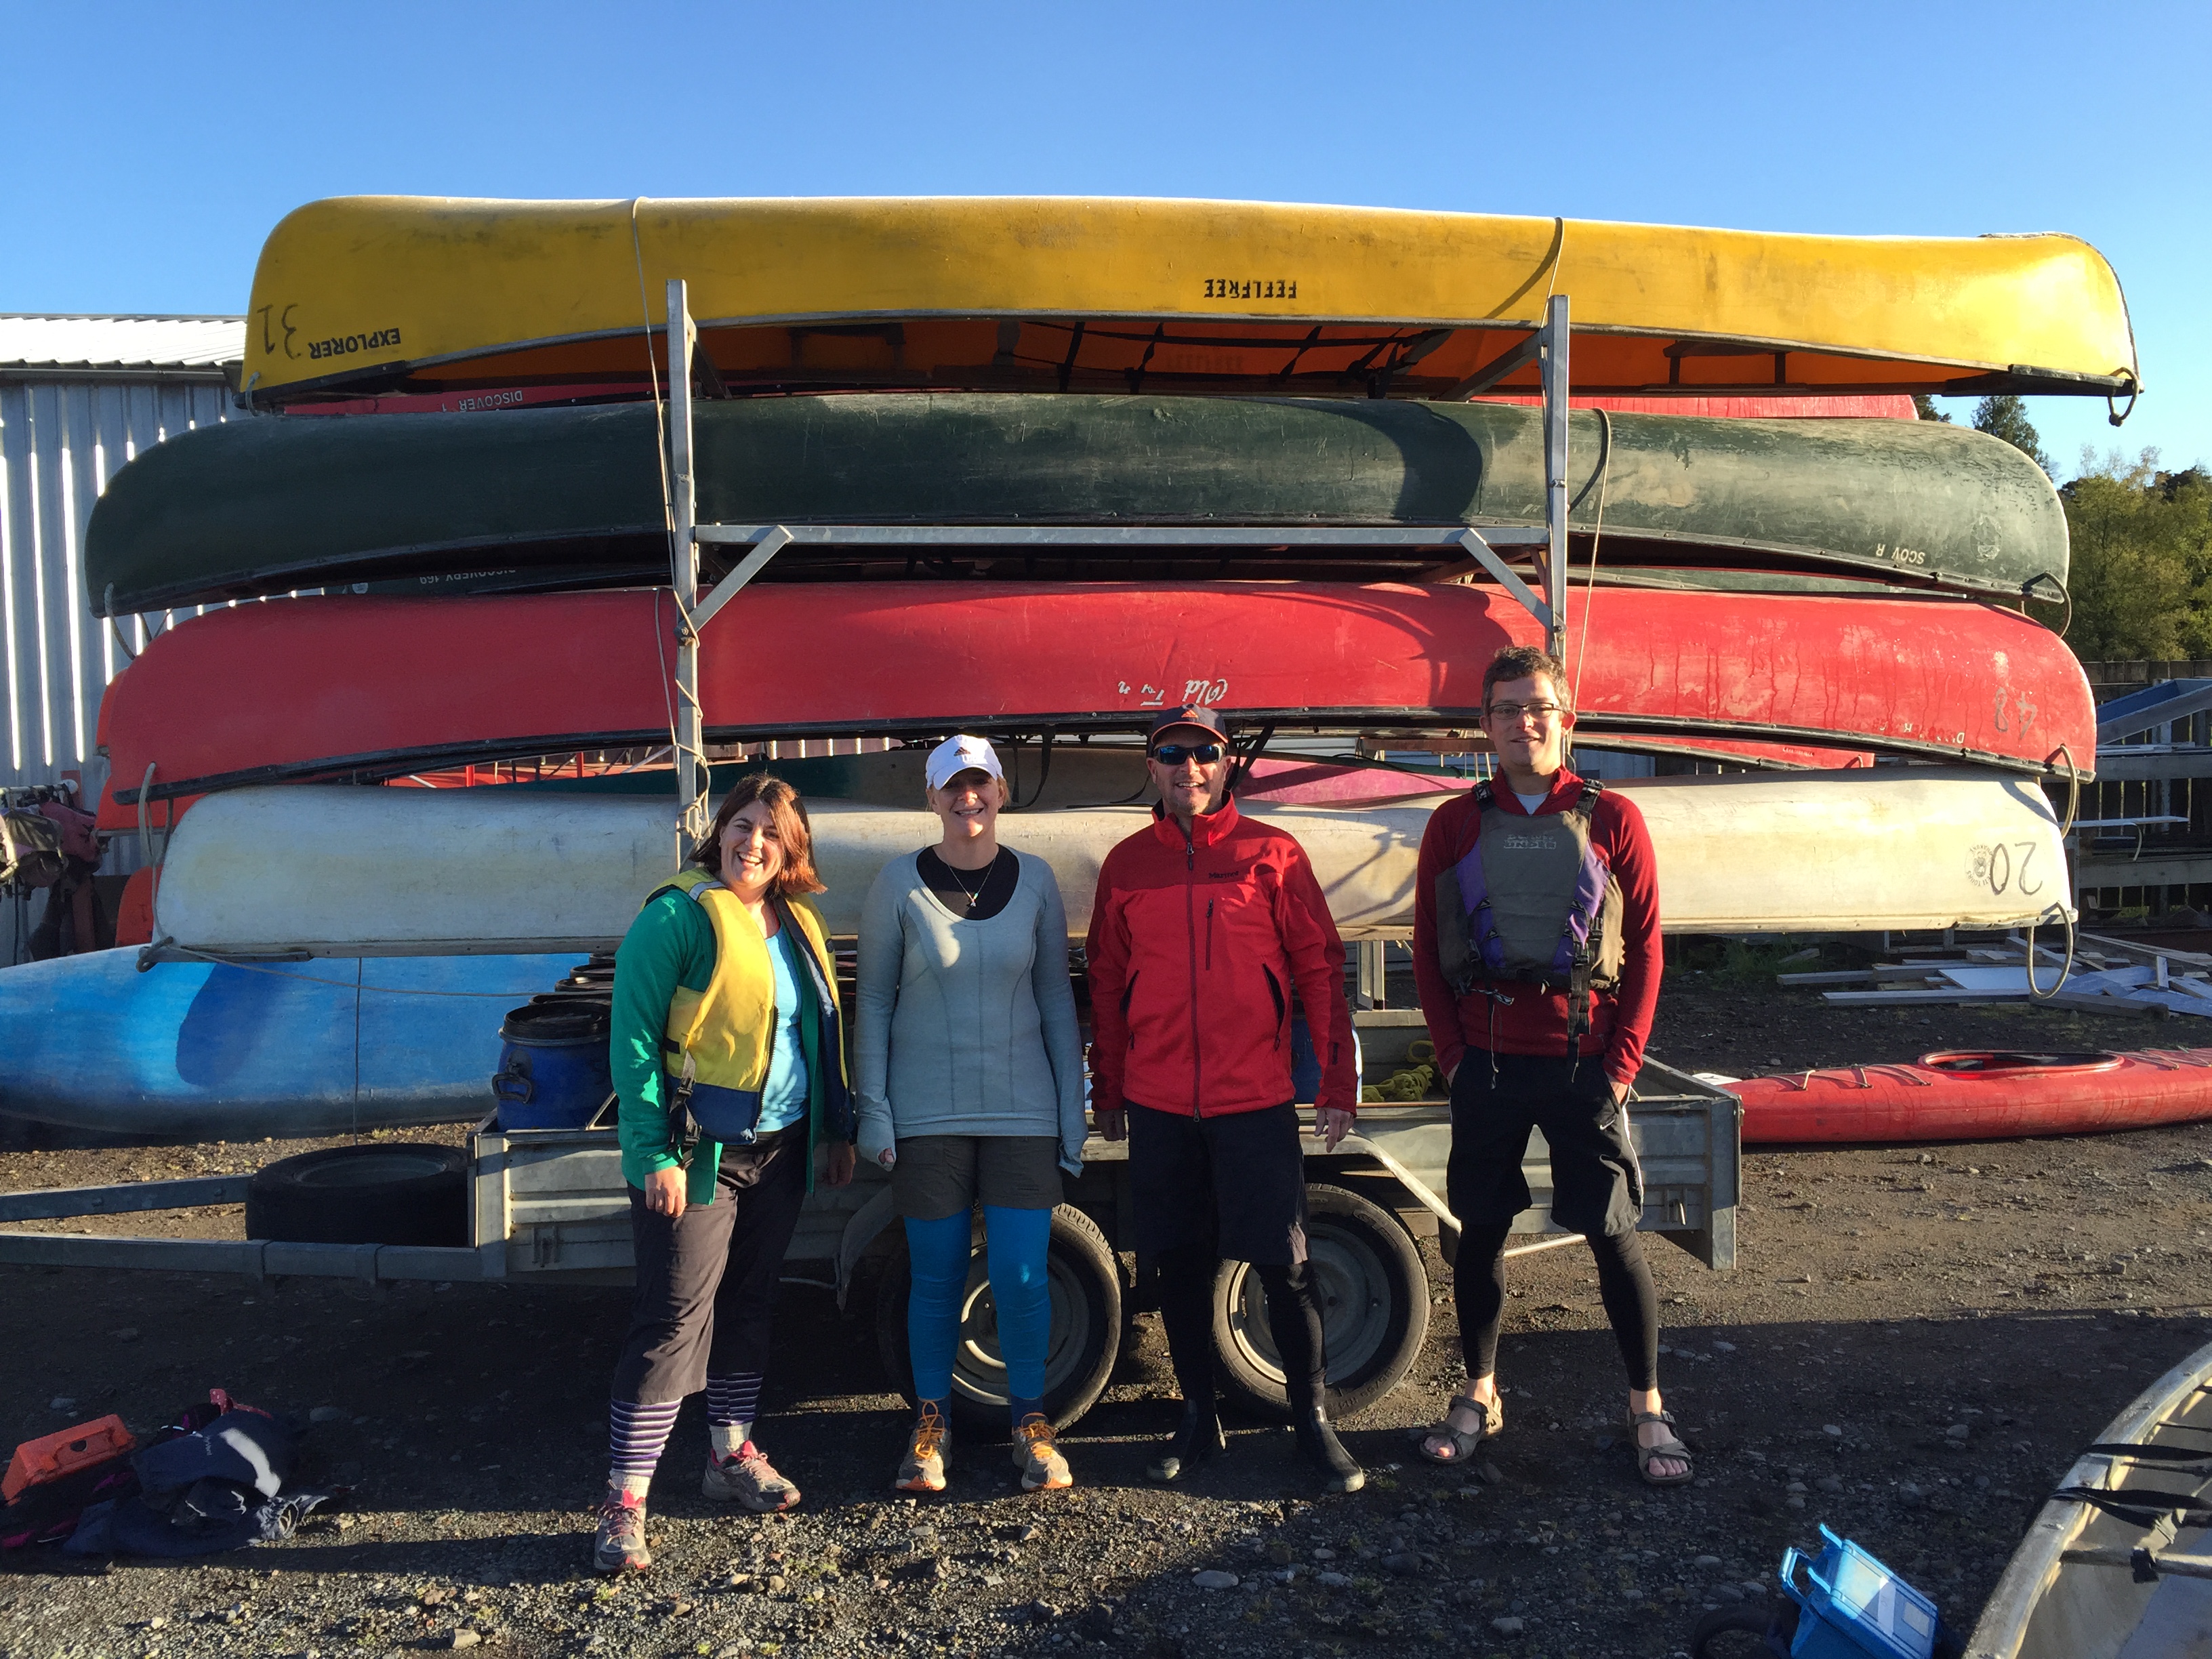
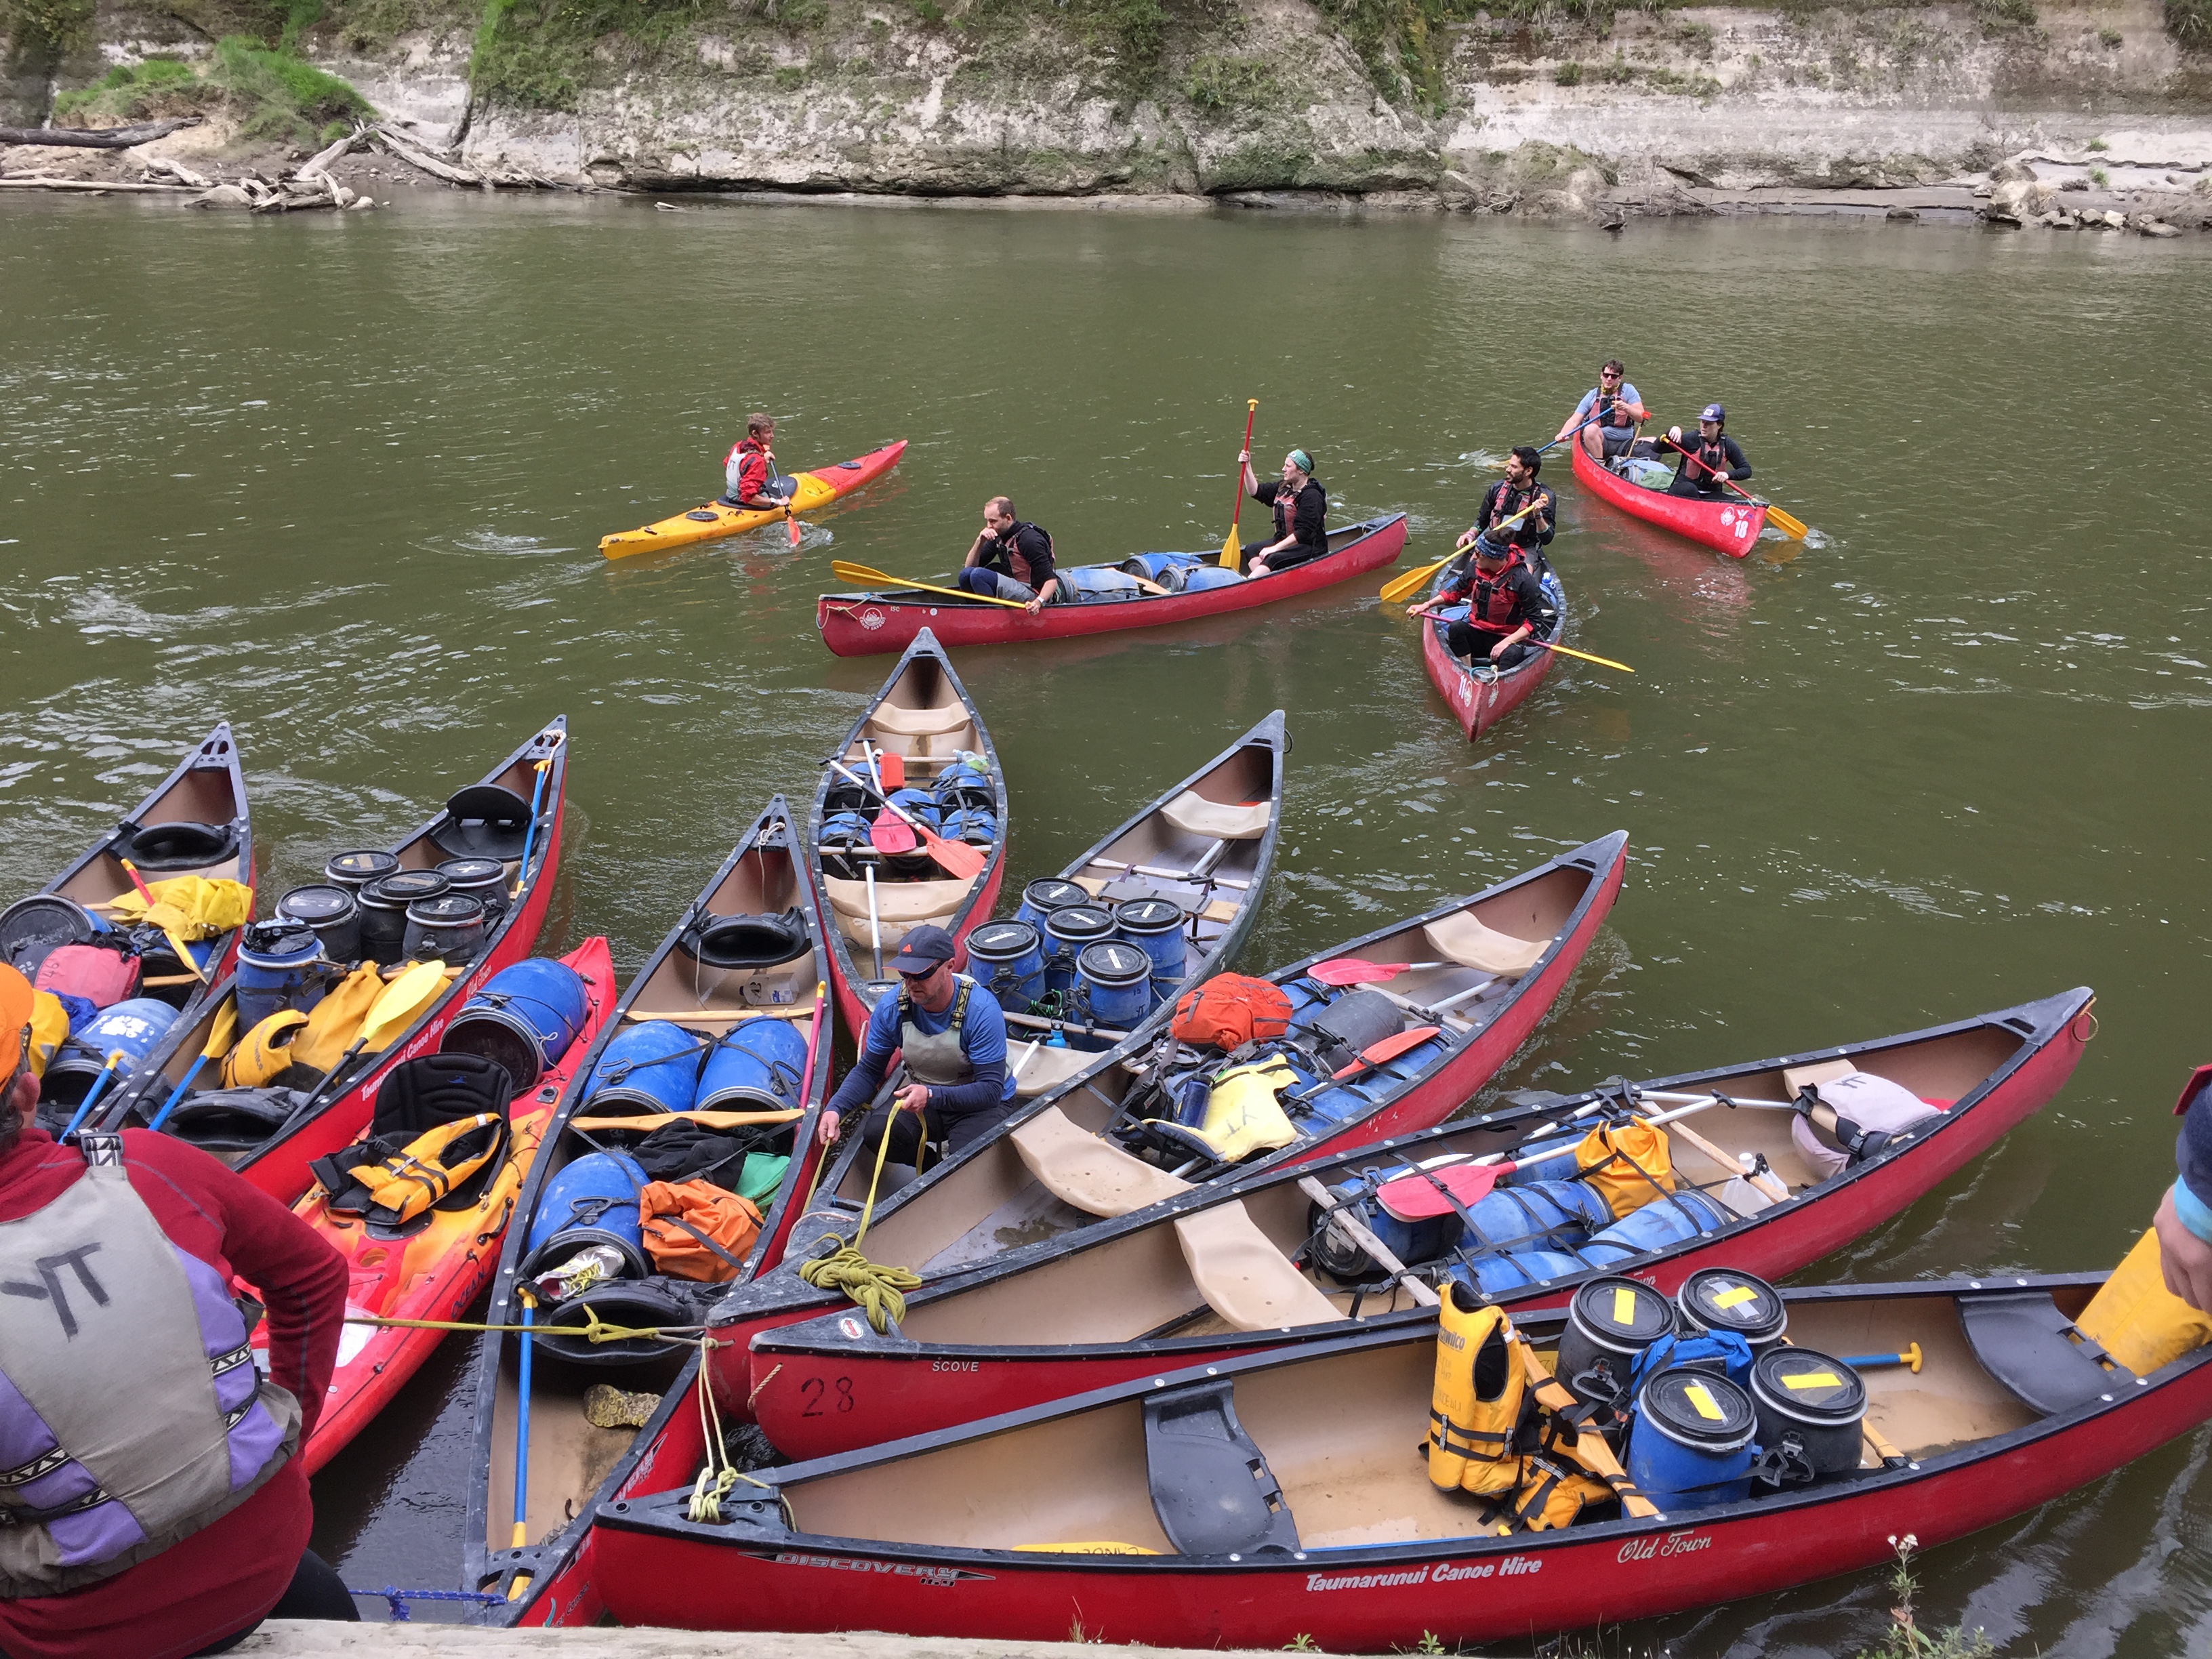
There are about eight different operators who rent out canoes, kayaks and do guided tours on the river. So when we arrived at Whakahoro ramp – it was carnage! There were boats, barrels and people everywhere all crowded on a very rough boat ramp. We packed our gear in to the canoes, and were given some tips on how to paddle, how to read the river, what to do in the rapids and we were sent on our merry way!

I am pretty confident in boats and on the water – but rivers are an entirely different beast to the ocean! Seth and I set off in our canoe down the river with everyone else. All was going well until we got to our first rapid! This was pretty tame compared to what we were to experience further down the river, however we got all crossed up half way down the rapid, turned side on to the current and took a wave over the side which threatened to tip us out. How we recovered I am not sure, but I was dreading the next one!


Most of the river is deep and slow moving, and you need to paddle quite hard to keep up the pace. Every kilometre or so is a rapid – which as I mentioned before, were absolutely terrifying to start with, but once we got used to how to handle the canoes, they became quite fun, and something to look forward to!
I can only describe a rapid to be like a water rapid ride at a theme park! The waves can get up to 1m high on this stretch of the river, and they often have a cliff and a corner thrown in for good measure. Andrew took some great footage on his Go-Pro, so I will add it in here once he edits it. We saw a few people who capsized on the rapids, everyone we had spoken to who had done the trip before had tipped out. We had a few very close calls of our own, but I am proud to say that none of our group capsized – and we had kids in the canoes! You get a pretty good feel for it after a day or so, but the main tips are as follows:
- As you approach the rapid you can clearly see a nice smooth V heading in to the rapid – head for the V
- Once you get in to the V you are in the fastest moving and roughest water – the key is to paddle faster than the water is going – so both paddlers need to go hard out!
- The roughest bit is actually the safest bit – the danger is getting too far away from the rough water as if the bow of the boat goes in to the slower moving water on the sides – this slows the front down, while the back of the boat is still in the fast bit – so it spins you around side on to the current, you get a wave over the side, and then it is all over rover…
- So the person in the back controls the steering of the back of the boat, and the person in the front is controlling the front end – just paddle as hard as you possibly can and try to communicate with your partner about what needs to be done! It is entirely team work, and there was a fair amount of shouting, squealing, swearing and adrenaline flowing on all our boats!
- Keep paddling hard until you get in to the smooth water again – there are back eddies at the bottom sides of the rapids that like to suck you in and turn you around, and they are hard to paddle out of again.
- Watch out for rocks and trees under the water – they usually have a lump and rough water down stream. They can be in the middle or sides of the stream.
We had a couple of ‘moments’ we got stuck on a log at one stage and then got sucked down a small rapid backwards… not the classiest manoeuvre! However we did stay upright!


The first day is the longest – 37km or about 6 hours of paddling, and so it was a happy sight to finally reach John Coull Hut. We were some of the last people to arrive, and being a long weekend, the place was packed! The hut is in a great spot overlooking the river and the composting toilets were not too bad either. There is an adjoining campsite which was also packed. They had a shelter and the campsite shared the composting toilets with the hut. The hut had a small kitchen area and there was gas burners available, but it was pretty crowded in there, so we were pleased we had bought our own jet boil and so we cooked up our camping food on the deck.


On the Great Walks you can book and pay for beds in the hut. They cost about $37 per adult and kids are free, but you are guaranteed a bed – so it is well worth doing. John Coull Hut can sleep up to 26 people in one bunk room. There is one long top bunk and one long bottom bunk, and 26 smelly canoeists spooning together in a snoring symphony…
Our group had the top bunk – which was nice that we were all together but negotiating the ladder in the dark is not for the faint hearted… bring your earplugs… also be aware that if you are a snorer, your fellow tramping companions will be dreaming up all sorts of ways of stopping your snoring – including sticking their earplugs up your nose etc…
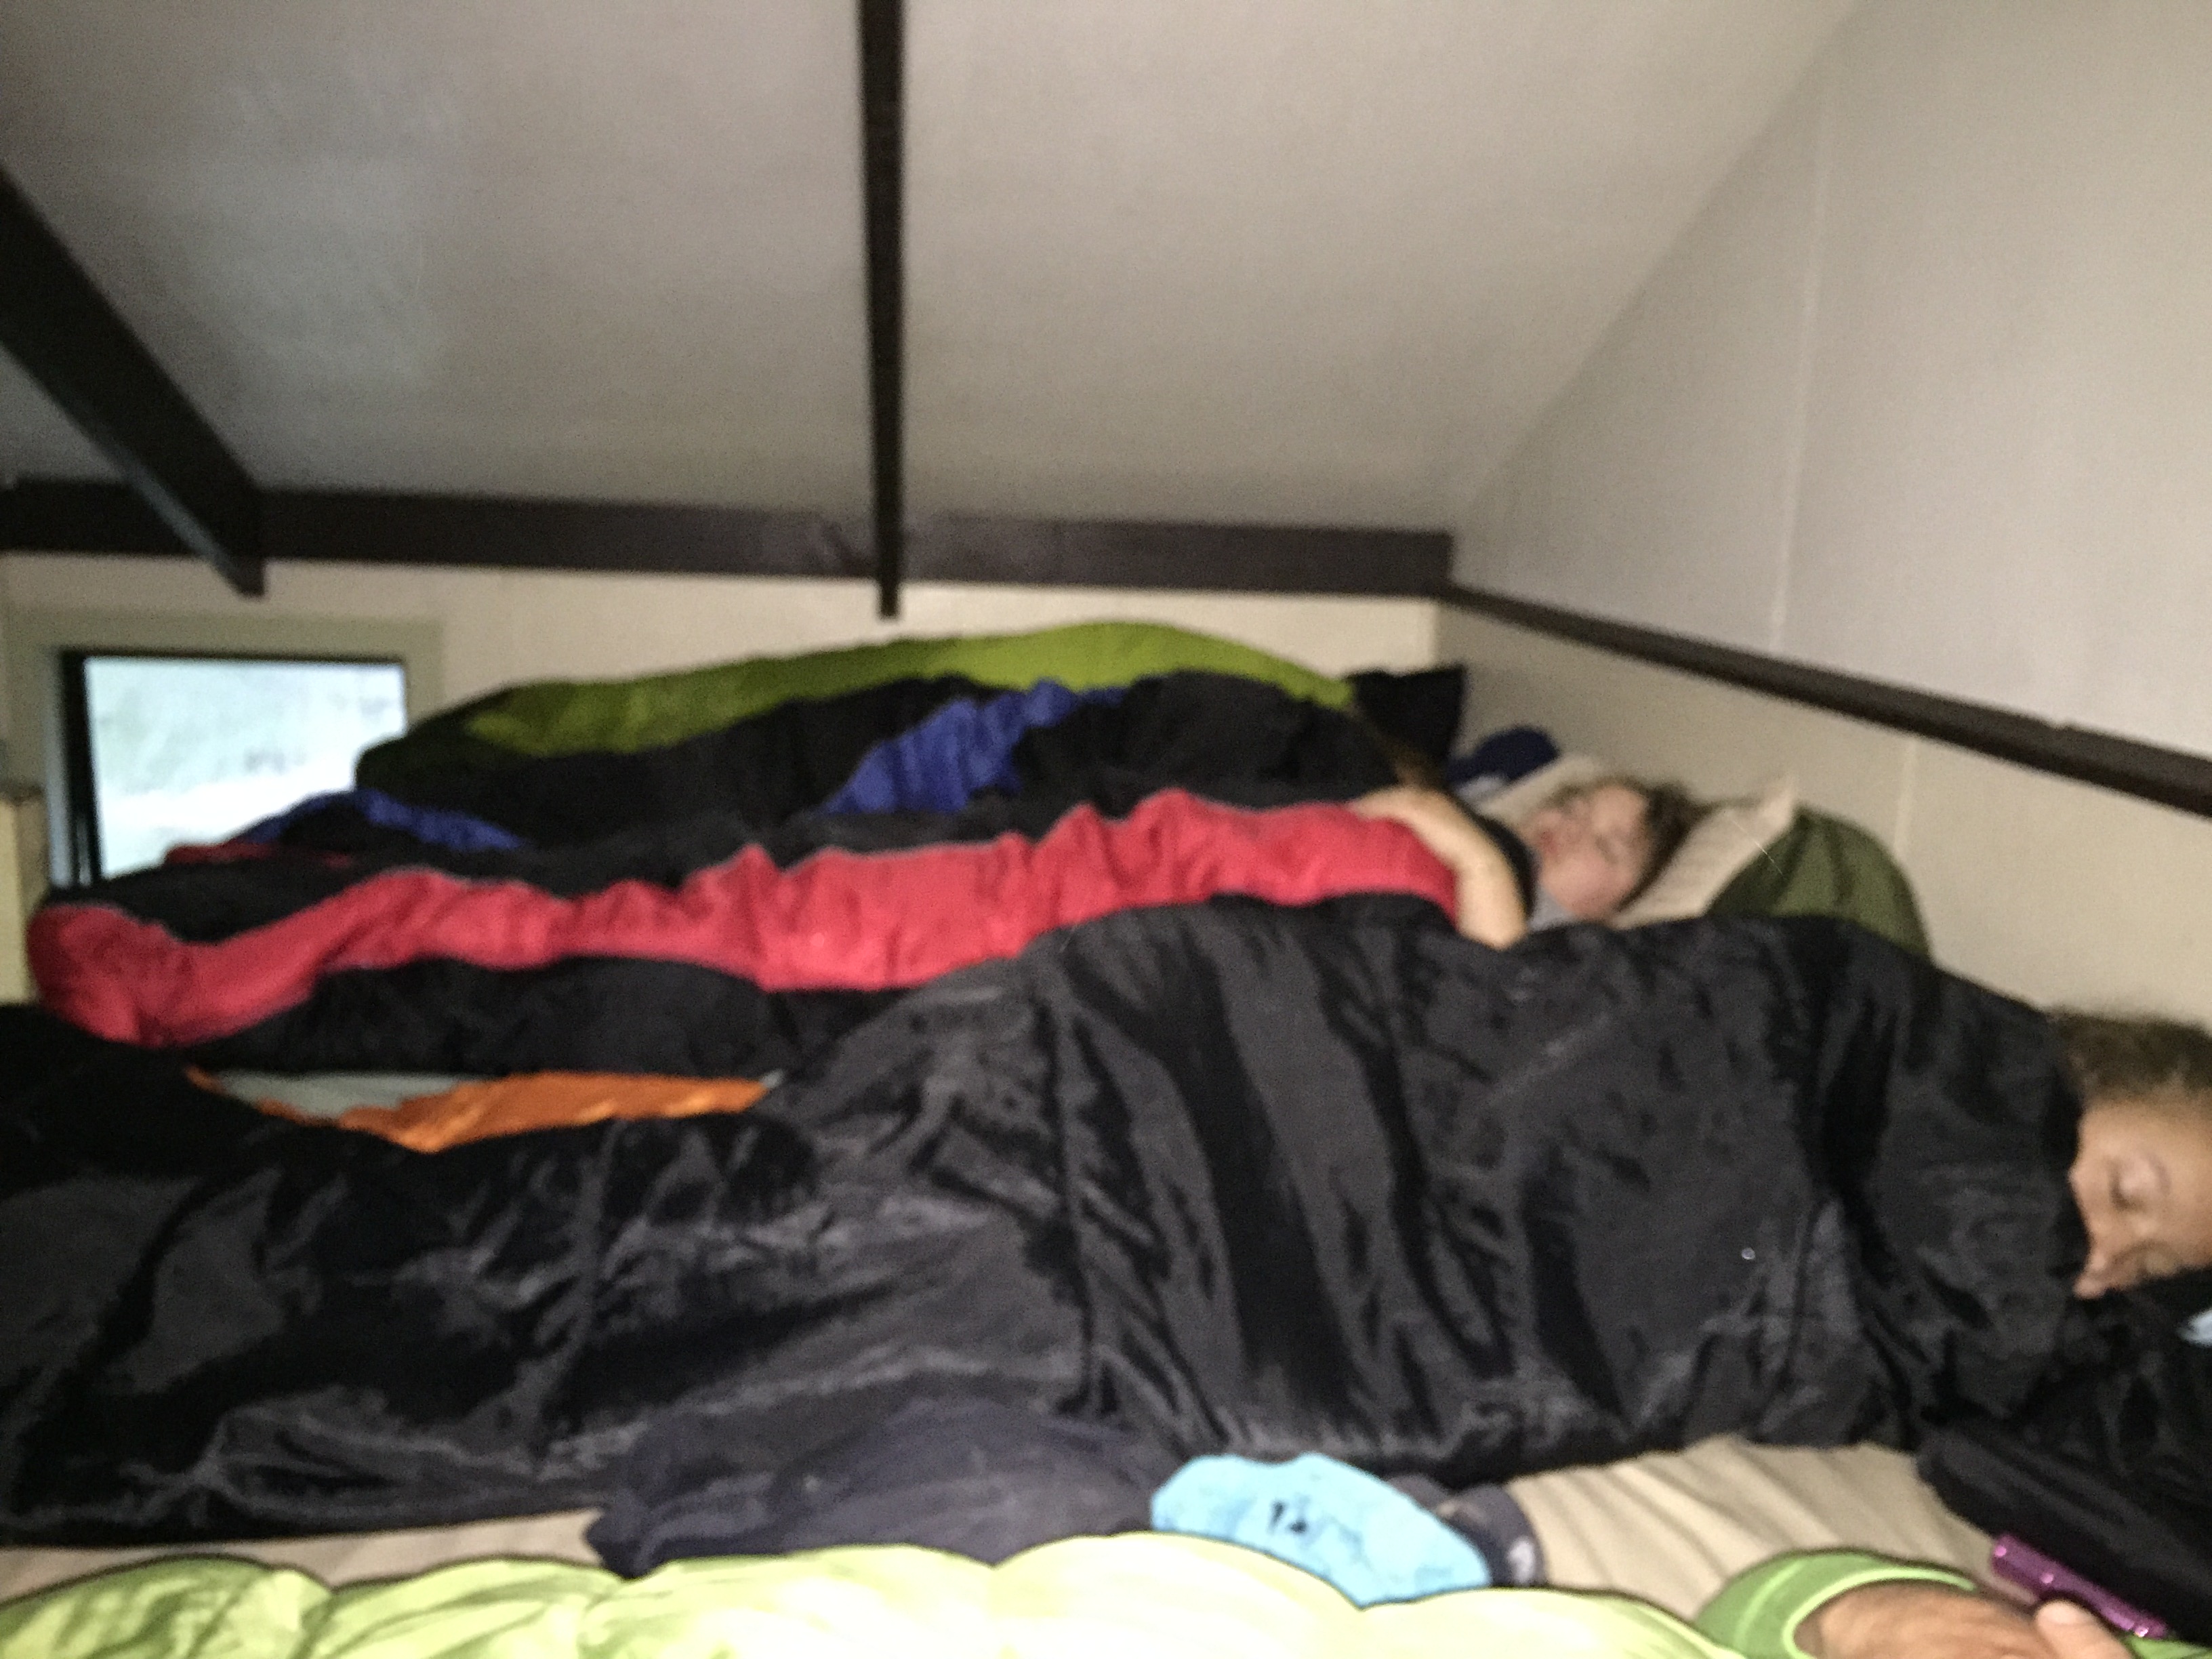
Cosy sleeping in DOC huts
The following day we were woken up at the crack of dawn by our fellow hut inhabitants – did we actually get any sleep anyway with all that snoring?? Anyway we got up, made breakfast, repacked the barrels and carted them back down the hill, packed up the boats and headed back out on the river.
Day two is a bit shorter 27km – with a walk in the middle to the Bridge to Nowhere. There is nowhere to pull your boat up on the shore, so we had to tie up with the many other boats who were already there. This was easier said than done, but we managed it and thankfully the boats were still there when we got back!
The 40 minute each way walk takes you through the beautiful forest on a well formed track to a bridge which was built literally in the middle of nowhere. There were a few people farming the land post WWI and for some reason they decided that the flimsy swing bridge they were using wasn’t good enough, so they decided to build this very impressive bridge. Some more of the story is in this picture!

It was well worth the walk to stretch the legs and it is quite eerie to see such a fantastic structure so far from civilisation! The bridge is also part of a bike/tramping track – people can bike in and then get picked up by jet boat to go home.


Our accommodation for the night was at the Tieke Kainga Hut. This hut has a chequered past, with the land being in dispute with a Maori land claim. However these days, the DOC hut and the Marae work well together. When we arrived we took all our things up to the hut – this time there were two separate bunk rooms, so our group of 11 got our own room. There is a separate kitchen dining area with a fireplace and cooking facilities, and plenty of space to spread out.
Once we were all organised and the other paddlers had arrived and set up camp, we were invited to participate in a powhiri – which is the official welcoming on to the marae. We had a person with us explaining the protocol – which started with the karanga or calling on to the marae – firstly one of the local ladies does the call – which is then replied to by the visitors – I got the honour to do this – and used some of my high school maori lessons dredged up from the depths of my memories! The women go in as a group first, followed by the men who sit at the front and the women in the group behind.
Then the local people do a welcome speech which is followed by a song. Then the visitors are invited to do a speech. The man who was explaining the protocol spoke on our behalf, followed by Andrew’s son Will who said his mihi – or his introduction speech in Maori that he had learnt at school. This went down really well and he was the star of the show. We then had to sing a song – and we chose the National Anthem which was the only Maori song we could think of that we all knew the words to!
If you are from another country then you are welcome to do a short introduction speech of your own – who you are and why you are visiting the marae, and then follow up with a song of your choice.
This concludes the ceremony and you then line up to do a hongi – or nose pressing.
It is lots of fun and was a great experience for us all.


Incidentally there is another campsite and lodge on the other side of the river from the marae called Bridge to Nowhere Lodge – so if the huts were full, then this would be another option.
The following morning we awoke to the sound of rain drumming on the roof. The Whanganui River has a huge catchment area, and is prone to flooding, the rain was light when we left but grew heavier as we went along. The issue with the river level rising is that it picks up all the trees and branches along the sides of the river and sweeps them down stream. This can be dangerous, and if this happens, then they will close the river and you can’t leave until the water starts to drop again. This is something to bear in mind – take extra food should you get stuck for an extra night and plenty of warm clothes. We had good wet weather jackets and thermals, and the hut warden said it was safe, so we headed off.

Seth had a turn at steering from the back – we went down a rapid in this set up – but it was pretty scary being at the front of the boat and as we had a good system going on, we swapped back!
The third day is 21km long – so about 4 hours of paddling. We were glad the rain had held off until the last day. Yeti Tours had given us a Spot tracker – so we turned it on and checked in at the huts each night and gave an OK signal. If we had damaged or lost a boat or required some assistance we could press the Help button and a jet boat would come in a few hours time – but you would have to pay for the privilege – around $500 ish… The other option was if someone was in a life threatening situation – you could press the 911 button and a helicopter would come and pick them up. It was great to have this backup in case of an emergency as there is no cell phone coverage at all throughout the park.
The river for most of the way on this part is slow and winds between steep sided cliffs. There aren’t many places to pull in for a tea break. However the last day also has the most intense rapids. The ‘drop zone’ sounded ominous… and it was!
The very last rapid before you reach Pipiriki goes on and on! Thank goodness this was the last day, as we were all getting quite good at rapids and we all came through ok – but very wet from the rain.


The crew from Yeti Tours was picking us up at 2pm. We hadn’t stopped for lunch as it was too cold and wet, so we went up to the shelter about a 5 minute walk uphill from the boat ramp for a beer and some lunch with all the other paddlers waiting for their transport.


It was about an hour in the bus in damp muddy clothes back to Ohakune, and we headed back to our motel to unpack and warm up. I think the trip would have been pretty miserable had it rained the whole way, but just that one last day of rain gave us a taste of how lucky we had been on the first two days.
There wasn’t much in the way of restaurants open in Ohakune on Labour weekend Monday – so we got fish & chips and dried some clothes by the fire.
The last day we drove back to Palmerston North and stopped at some of the many sights along the way.


We had a brilliant trip! Here are some of my tips if you want to do it yourself:
- You can do the trip guided or non-guided. We did non-guided, but if you want to pay the extra then the people who were being guided did look well taken care of.
- Kids over the age of about 10 can do the trip – our kids were the only ones on the river. Smaller kids can be accommodated on a middle seat in the canoe, but you really need two decent paddlers at either end to control the canoe through the rapids.
- The other option is to get a kayak if you are on your own – however the only kayak guy that was on our bus got picked up by jet boat on the same day we had started as he had tipped out so many times. You might want a bit of experience in kayaking perhaps if you do this option.
- Apparently the 3 day trip is the one to do. The tour people didn’t recommend the 5 day option. The first couple of days are very long and through farmland which isn’t as scenic
- Book your accommodation online with DOC – you can do huts or campsites
- Yeti Tours provide the canoes, barrels, life jackets, paddles, bailers, a spot tracker, and transport to and from the river. They can also provide camping gear if you need it.
- There are no shops or phone coverage – so be prepared!
- Take more food in case you get stuck in for a night and plenty of warm clothes in case it rains for 3 days…
- Gloves – take gloves – trust me
- Hat and sunglasses – take them too!
- Shoes – I had some sandals with covered in toes which were brilliant. Take shoes that you don’t mind getting wet – Seth wore crocs which were great, the other kids had those neoprene shoes and they complained of cold feet. Others wore cold squelchy sneakers. Take some walking shoes for the walk to the bridge.
- Water proof jacket – and thermals or stuff that will keep you warm even if it gets wet
- Drybags – double protection for your clothes in the barrels
- Sleeping bags for the huts
- While there were cooking facilities in the huts – we were super pleased we had taken the Jet boils. You need to bring your own pots, pans, plates & utensils if you are planning on using the hut gas.
- Plenty of snacks and water to drink along the way.
- Painkillers – my arms were killing me on the first night, but they came right after that. Others in our group had sore backs and various bumps and bruises. Take a first aid kit along too.
- Insect repellant, toilet paper, and sunscreen
- Waterproof camera
- Earplugs
- Emma had a great plan to next time bring air freshener and bug spray for use in the long drop toilets… they aren’t too bad, but when lots of people turn up, they can get a bit smelly… there are some huge mosquitos waiting there to bite your bum too. It can be a little off putting!
- Label your barrels with what is inside – they are a pain to open and shut all the time!
Our journey was featured in Boating New Zealand Magazine April 2016 edition


What an exciting trip! I will be in New Zealand in 85 days and I can hardly wait to get back to the most beautiful country I’ve ever visited. I will get to visit Tongariro National Park and The Coromandel this time, two places I missed in 2008. Next trip…South Island for sure! Love your posts, Viki!
LikeLiked by 1 person
Thanks Diane! It is a spectacular part of the country. I am sure you will have a wonderful time. I can’t wait to hear about the Tongariro crossing. It looks amazing and is on our list! 🙂
LikeLike
Sounds like fun 🙂
LikeLiked by 1 person
It was brilliant!
LikeLike
What a great trip. We are going to have to do a circumnavigation so we can get to New Zealand! Enjoying the blog.
LikeLike
Great idea! There is so much to see here. I love being a tourist in my own country!
LikeLike
Pingback: There is more to Punakaiki than just Pancakes | Astrolabe Sailing
Pingback: Destinations Index | Astrolabe Sailing
Pingback: The Banks Track | Astrolabe Sailing
Pingback: The Kaikoura Coast Track | Astrolabe Sailing