We recently did a trip up the coast on Wildwood and I downloaded the Navionics app on my iPad. It cost about NZD$50.00 for the app with the Australian and NZ charts on there. I was really disappointed when it didn’t work! My iPad didn’t have the GPS built in, but after chatting to someone else, they suggested that you could get a free-standing GPS receiver which could connect via blue tooth to your iPad. So after a bit of internet research I bought the Garmin Glo which was about NZD$100.00. It had a 12V charger for the boat and worked really well!
You also need the upgrade to the Navionics app to get it to plot routes, but this only costs about NZD$6.00 from memory. The charts are downloaded when you are in a wifi zone, so make sure you get those downloaded for the destination before you head off!
So I plotted my route on both the paper chart, the iPad and the handheld GPS. The iPad course displays in True and of course you will be wanting the Compass course to steer. I had already calculated the variation as per the paper chart, but I didn’t have a deviation card for my compass sorted. It is easy to sort, as you are sailing along there is a red line which shows your current course, you line that up with the course line you have plotted, and when they are both together – look at the compass – and this is your compass course to steer for however long your course is! We were motoring as there was no wind, so we didn’t have to worry too much about tacking off the track. So we simply steered from the compass, and every 30 mins or so we checked the iPad to see that we were still on the course we wanted, and made any adjustments as necessary.
We were way off shore most of the time, so it wasn’t until we came through Tory Channel where we had to navigate around the rocks to get through the channel that I became concerned about the accuracy of it – however I wasn’t disappointed. We were able to navigate around the rocks and by taking some bearings as we went along it was apparent that our position on the iPad was exactly where we were in the ocean.
I also loved that we could add our own comments on to the chart – so you can add good anchorages, moorings, fishing spots, unmarked hazards, marina details, walking tracks, on shore facilities, photos etc, which are all shared with other Navionics users. You can also share your route and course on Facebook or to your website if you have an internet connection on your iPad – I hooked mine up to my phone to do that.
I also had a back up GPS handheld chart plotter, but the screen on this was so much smaller than the iPad and it was slow to update the picture. I only bought it about 5 years ago and it makes you realise how far technology has come in this area in such a short time.
So in short – I give the Navionics app on my iPad a big thumbs up and would highly recommend it to others.
New chart plotters can display AIS, weather, radar and the chart plotter chart all on one screen now. I will do some more research in to those options.
Here is what we will need as a minimum as per the Yachting NZ Cat 1 regulations:
- Compass & deviation card
- Spare compass or hand bearing
- Depth Sounder
- Log/Speedo (I find the one on Wildwood gets bunged up so quickly with slime that it never works anyway and I hate taking it out to clean it – the water comes in so fast!!)
- Wind Instruments – (I don’t have these on Wildwood, and not too bothered if we don’t have them on the new yacht as I think I am quite good at reading the wind by the state of the waves etc)
- Hand held GPS chart plotter (a stand alone unit that runs on batteries as a back up in case you lose all electronics)
- The iPad with Navionics app (costs about NZD$50 for the app)
- Garmin Glo – stand alone GPS receiver for the iPad Garmin GLO for Aviation
- Yacht GPS chart plotter
- AIS – it looks like an AIS receiver is relatively easy to install with your VHF radio.
- Charts for the area
- Cruising guide for the area & tide tables
- Sextant & tables
- Radar is recommended
- Barometer
- Radar reflector
- Navigation lights and emergency navigation lights
- Binoculars
- Fog horn
A few other people recommended Open CPN as another chart plotter option instead of Navionics. I have downloaded it to my computer and will have a play to see what I think.
We also downloaded an app called ‘Marine Traffic’ which was supposed to show us all the commercial shipping going past, it looked fantastic, but in reality it was useless. I am sure once the technology gets better this might be a useful thing to have on your phone, but it was in no way accurate on our coastal trip.
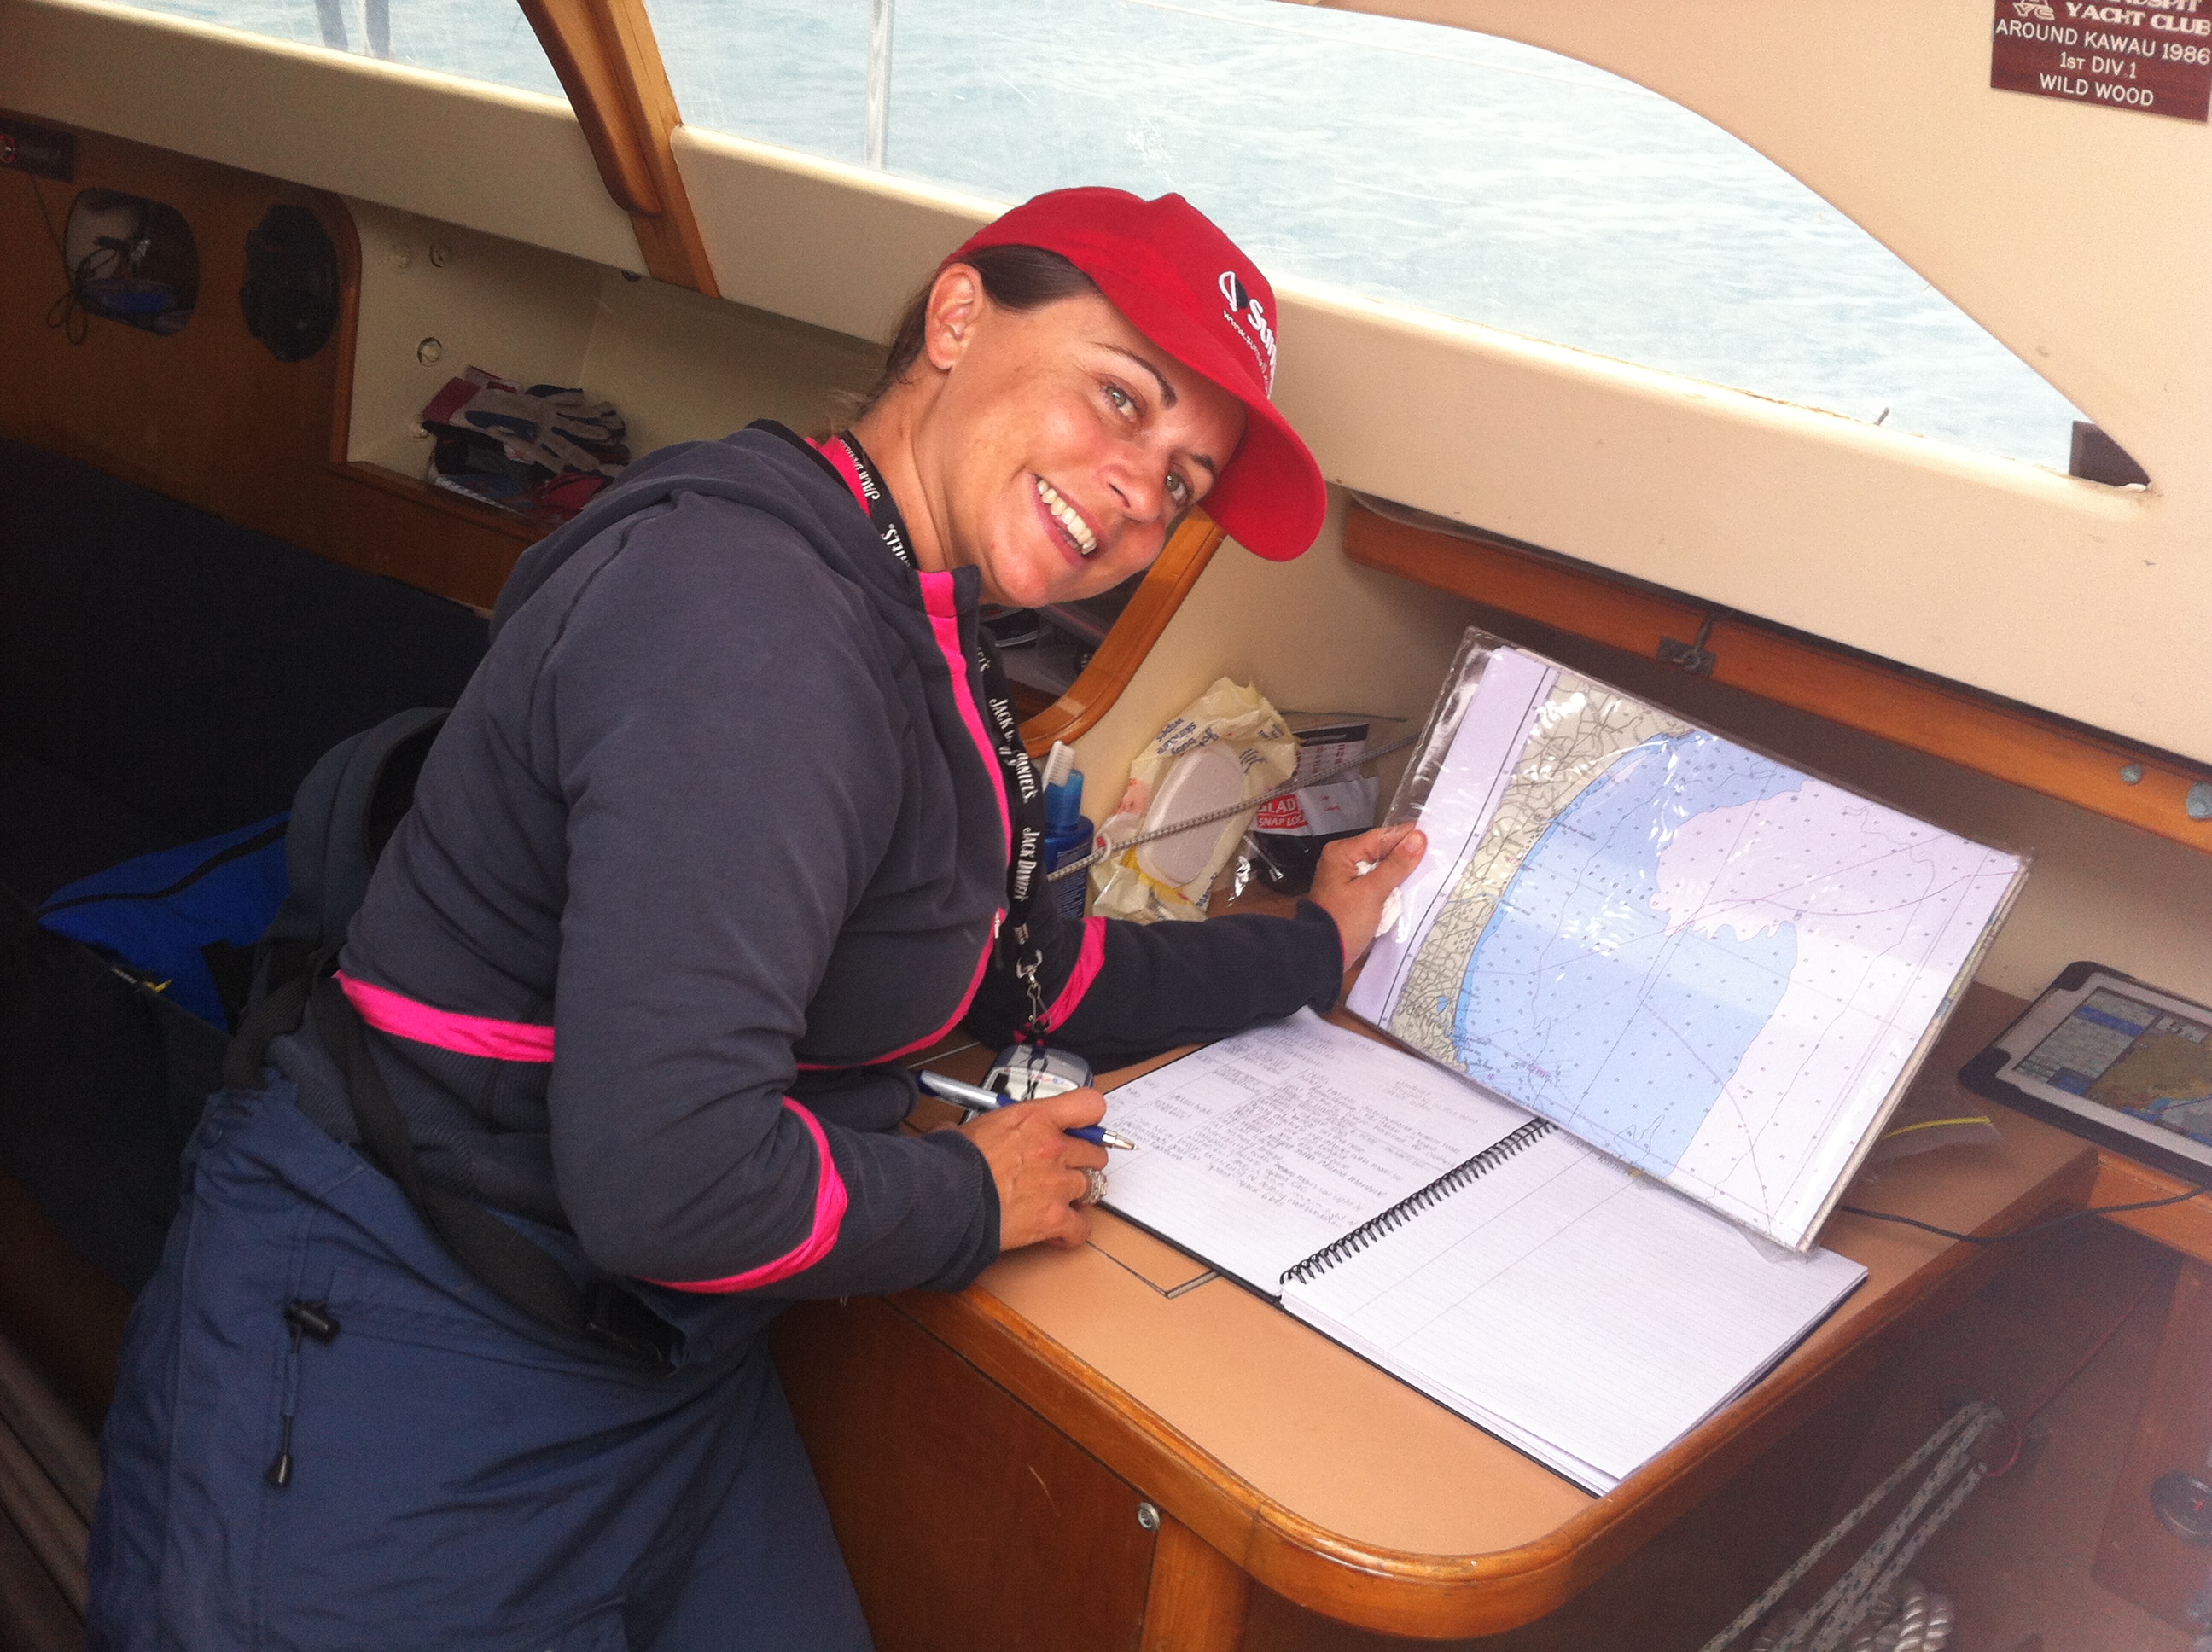
Pic of me updating the log book on our coastal trip – Navionics in action on the iPad at the back of the chart table.


Pingback: GPS | Astrolabe Sailing
Pingback: New Caledonia Cruising Tips | Astrolabe Sailing
Hi, I’ve just discovered your blog, and am learning so much already. Thanks for sharing. You may well have solved my frustration at not being able to get gps location on navionics on iPad! Can you please confirm which Garmin Glo you purchased? The Garmin glo portable gps and Glonass receiver, or the Garmin glo for aviation?? Is it still working well since this march 2014 post? Thank you
LikeLiked by 1 person
Thanks for your kind comment!
This is the GLO that we got: https://buy.garmin.com/en-NZ/NZ/p/109827
It is about the size of a big match box and it hooks up via Bluetooth to the iPad. It works amazingly well! You can charge it up via USB as well. Ours is still going strong 4 years on. It hooks up automatically to the iPad now when I turn it on. The only issue is that it turns itself on easily when its not in use – easy to press the buttons accidentally and run the battery down. I have to keep the instructions nearby to translate all the different coloured flashing lights (charging, connected, low battery etc) but other than that its very easy to use and has our location spot on! Good luck! Happy to answer any other questions you may have – it helps me learn too! 🙂 Viki
LikeLike