A couple of weeks ago on the Women Who Sail New Zealand Facebook group, one of the members Michele, put up a post about a citizen science project – The Big Microplastic Survey.
If you haven’t heard of Citizen Science before, I wrote a post about it a year or so ago. It is basically public volunteers helping scientists by participating in their research projects.
And seeing as I am on my own personal crusade to cut down on the amount of plastics we use on a daily basis, by doing things like making my own bees wax food wrap instead of using cling wrap, and not using plastic bags for supermarket shopping or in my rubbish bin etc, I was interested to see how micro plastics are impacting our part of the ocean too.
So I signed up on the Big Microplastic Survey website and got an email back the next day with the resource pack which had detailed instructions on what we needed to do to take part, the basic tools we’d need, what sorts of plastics we were looking for, how to gather the sample and how to report back on our findings.
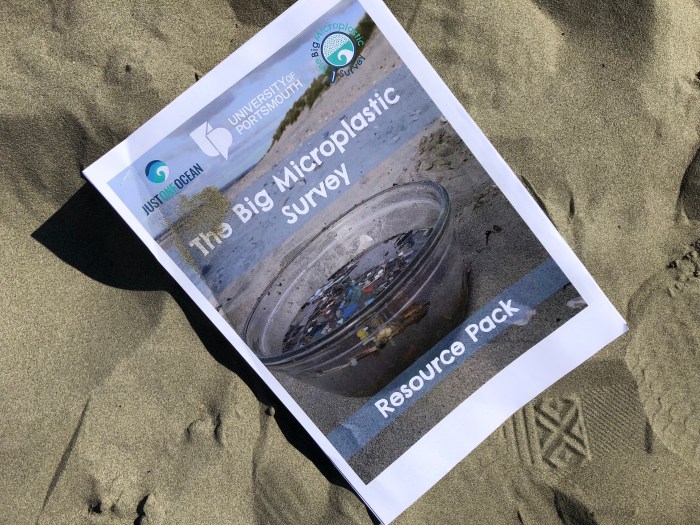
The Microplastic Survey is a collaboration between the University of Portsmouth and Just One Ocean. According to Just One Ocean, over 8 million tonnes of plastic pollution goes in to the Ocean every year!
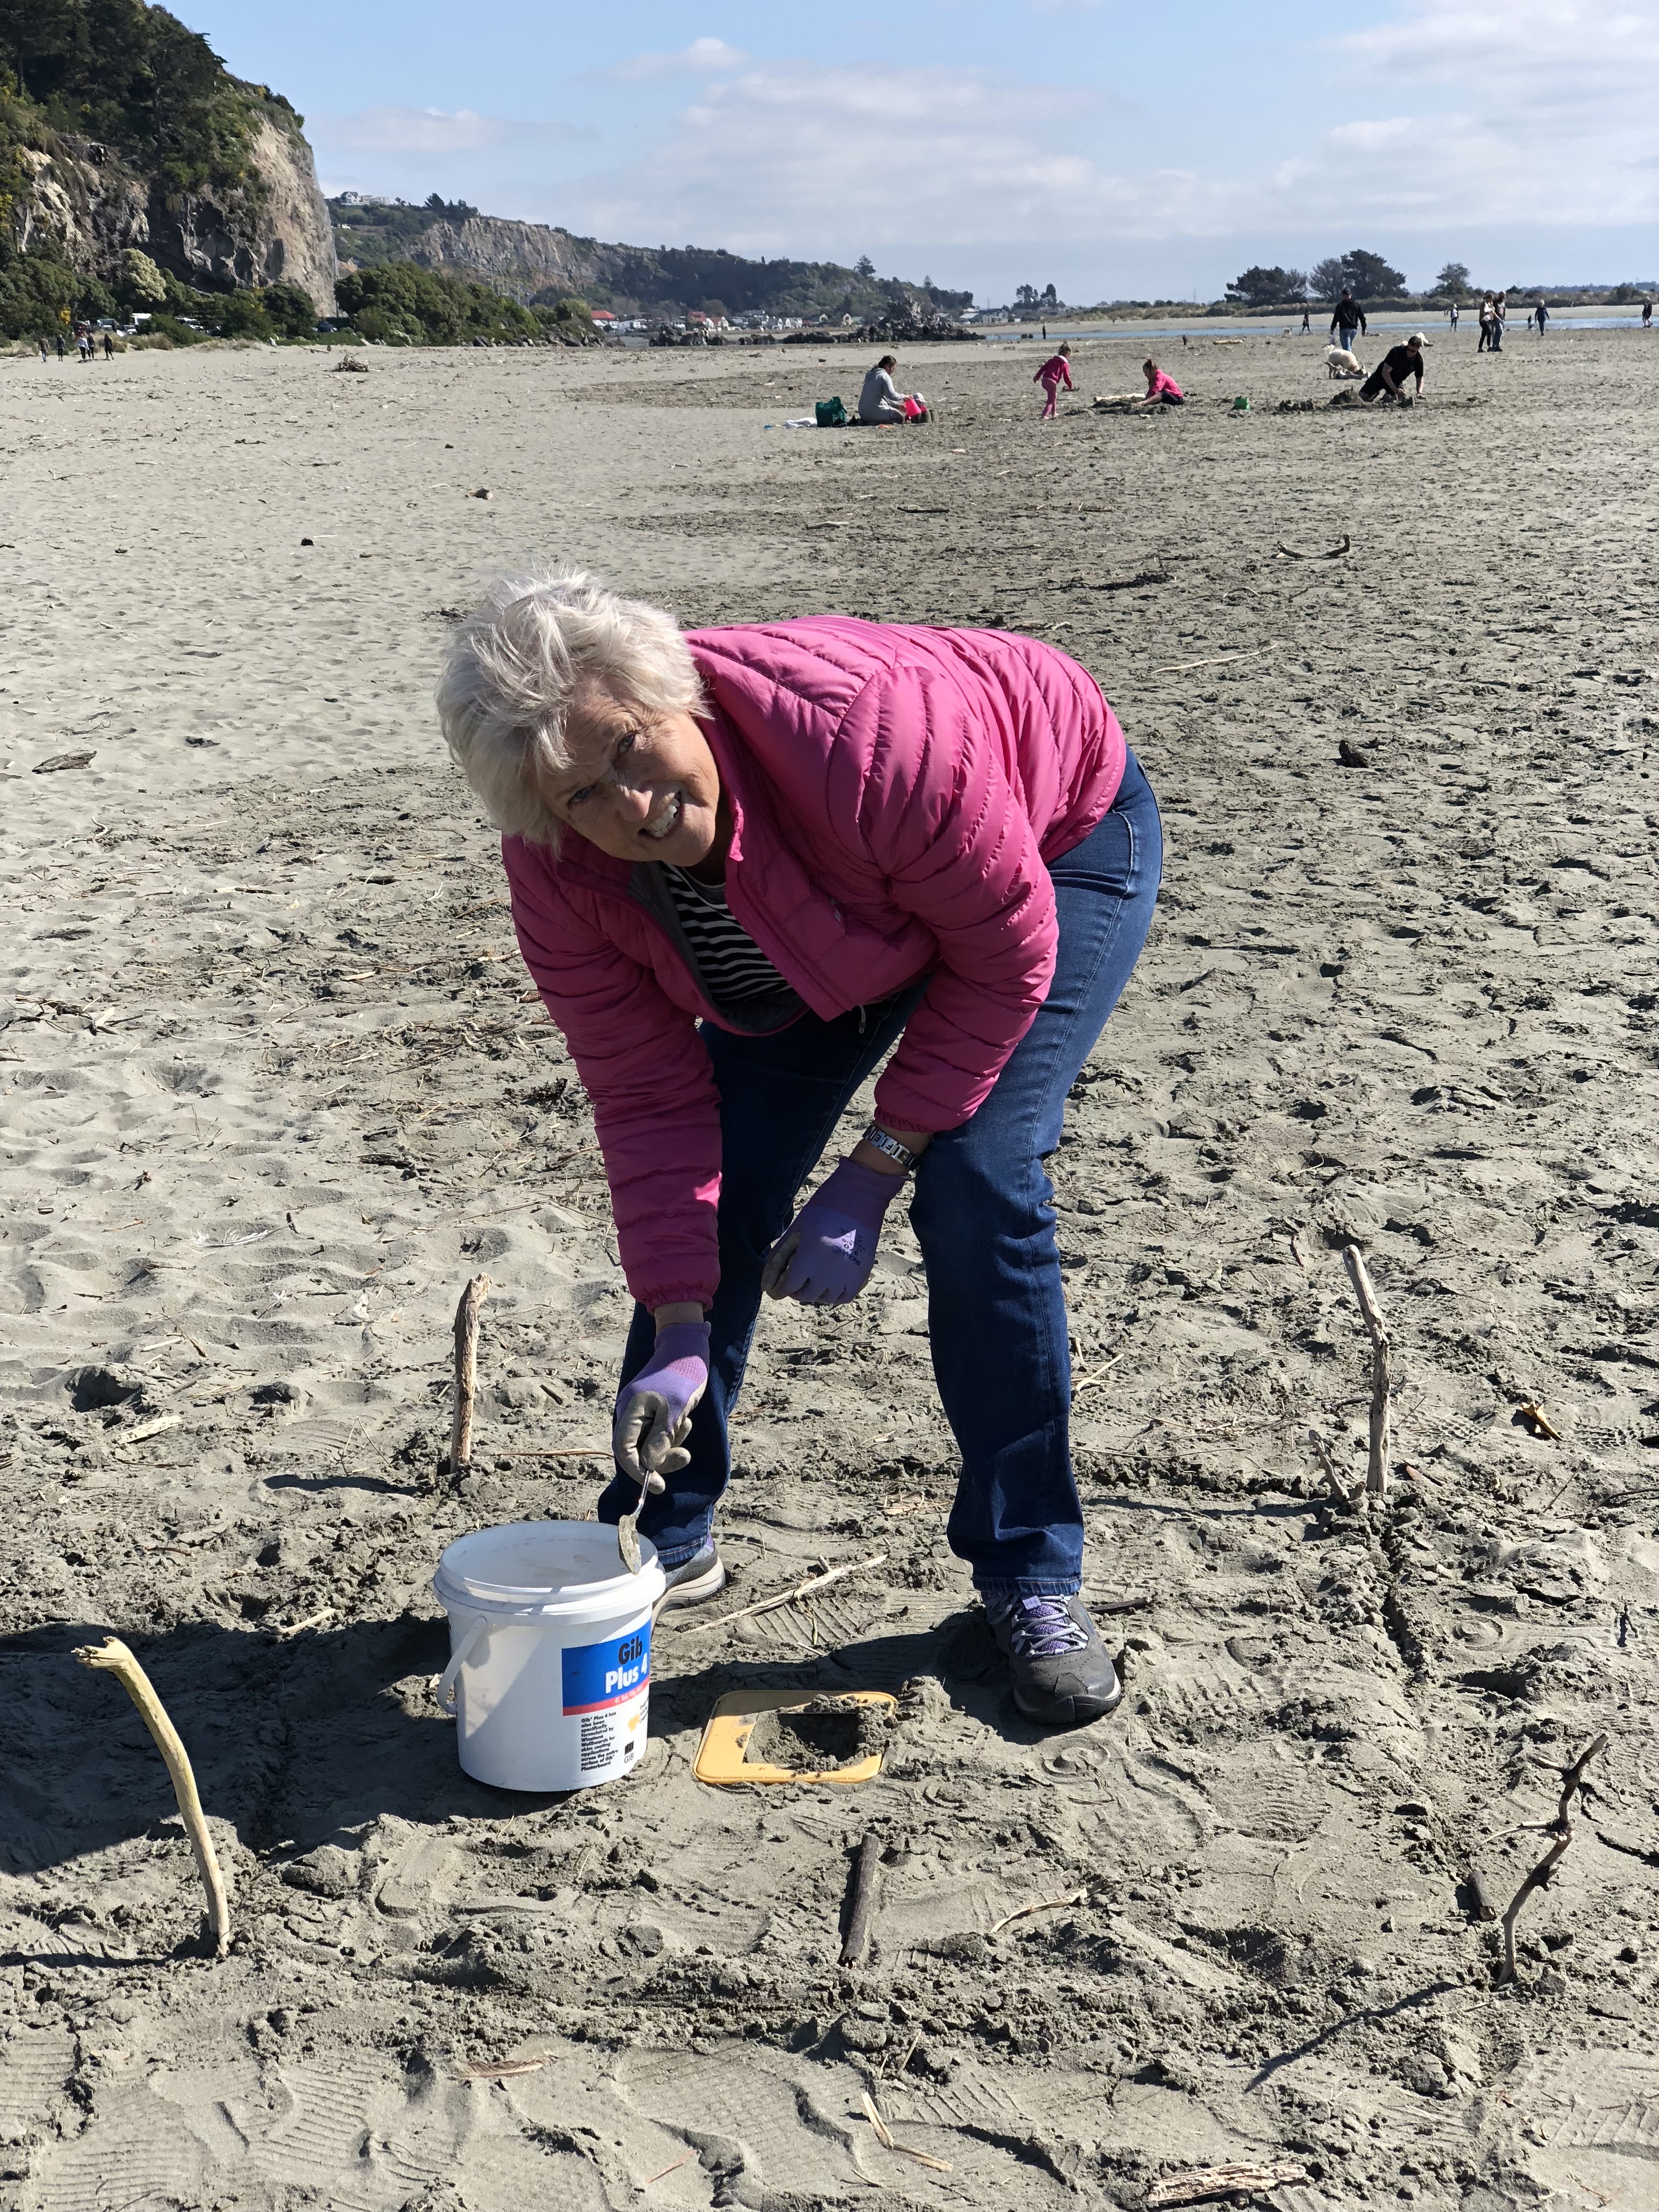
So we gathered together a couple of buckets, the measuring tape, a spoon and a sieve and headed off to the beach to take some samples.
The instructions advise you to go at low tide, and to find one of the strand lines of the various tides, as this is the most likely place you’ll find the micro plastics. It was quite easy to see the lines in the beach.

The beach we chose to survey was Sumner Beach in Christchurch – New Zealand. Sumner beach is on the South Pacific Ocean – at around 43ºS and 172ºE. It was a sunny spring day with lots of people wandering up and down the beach, but we managed to find an empty 25 metre stretch of sand to do our survey without disrupting anyone’s sandcastles in the process.
We took our GPS coordinates off my phone to put on the recording sheet.
We measured out our first 1 metre square survey area, and using a pre-prepared 10cm square template we spooned the top 2.5cm of sand in to our bucket.
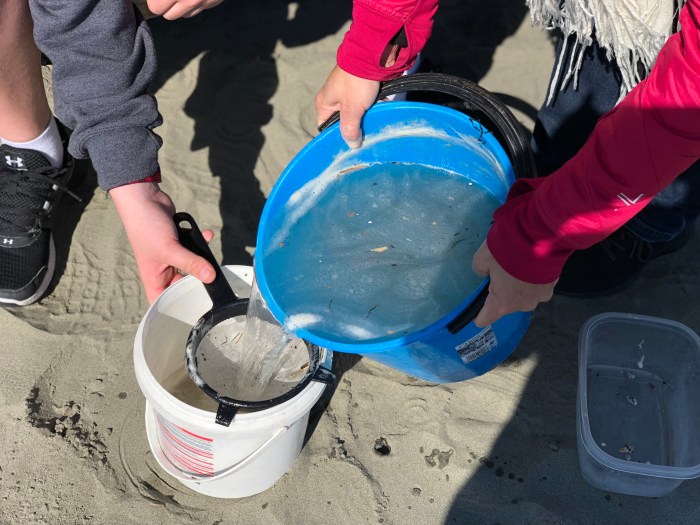
Once we’d gathered up our samples, we got a bucket of sea water to wash it all around to release any plastic from the sand. The plastics we were looking for would float.
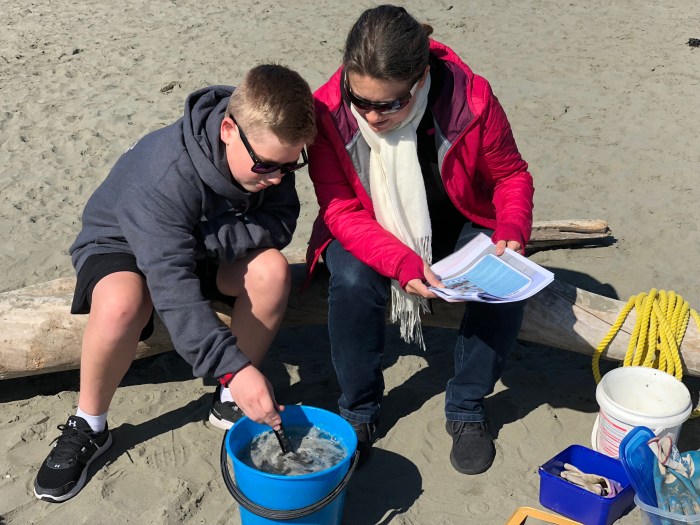
We then tipped the water through the sieve to catch the plastics that had floated to the top.

We repeated the process four more times along the beach, making our 1 metre square sample area, and taking five samples from within that area using our 10cm template.
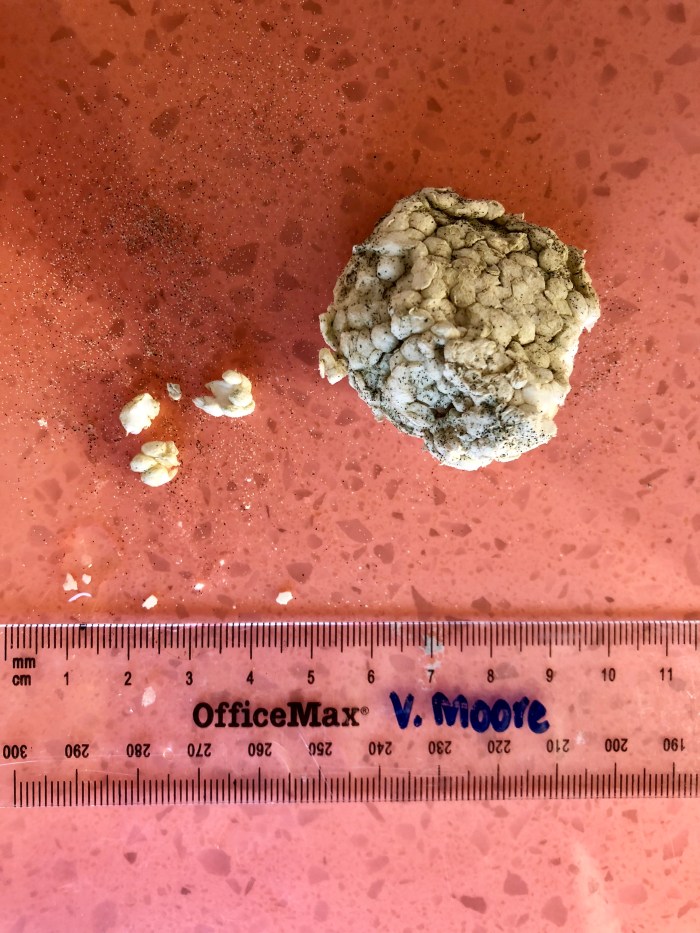
The interesting thing was that we didn’t find very much at all! A few tiny bits of white plastic and not much else. In fact there was very little rubbish on the beach anywhere. (Which of course is a good thing right?! But I admit I was a little disappointed as I wanted to categorise some stuff!).
The instructions advised us to put the plastics in a container and bring them home for further analysis.
The resource pack gave you some tips on categorising the plastics:
Microplastics are used to describe pieces of plastics that are less than 5mm in size. Mesoplastics are between 5-25mm in size. This is the size of plastics that are most commonly ingested by fish and sea birds. For the purposes of the survey they are also easy to see and most household sieves have a 1mm mesh.
These plastics are then broken down in to two groups – primary and secondary. Primary micro plastics are products that are made to be small in the first place. For example ‘primary’ micro plastics could be nurdles (or pre-production plastic pellets). Primary mesoplastics are things like cotton bud sticks, straws, plastic bottle lids and that kind of thing. ‘Secondary’ micro and mesoplastics are things that started out big and then broke down in to smaller unrecognisable pieces.
We only found secondary micro plastics – ie tiny little bits of white plastic that mostly all looked the same, and some polystyrene.
But even if we didn’t find anything, they still want to know that too.
So we completed the easy report form, took a photo of what we found, and you can then either just email that back to the scientists, or you can post your sample to them as well.
Overall it was a fun activity to do on the beach on a sunny spring day. The tools required can be found in any household and the whole thing took us less than an hour to do. So if you are interested in helping to save the planet and you live near a beach somewhere please give it a go!
You can read more about the project and sign up to do one yourself on the Microplastic Survey website here.


Pingback: Citizen Science for Sailors | Astrolabe Sailing
ahhhh what have we done to this world?
LikeLiked by 1 person
Yes devastating isn’t it.
LikeLike